I can’t believe it’s Easter weekend already! It seems like the year has just begun! We’ve been busy melting and molding our Easter chocolates this week. It’s an Easter tradition at our house that started when I was a kid.
I can still remember going to a little cake decorating supply shop when I was a kid and buying chocolate melts, and a couple new chocolate molds every year so we could make some Easter chocolates. I have some great family memories from that, so I’ve carried on the tradition with my son.
Today I want to share how to make your own chocolate covered peanut butter eggs. Reeses(tm) won’t have anything on you on Easter morning! It’s easier than you think to make your own, and you’ll be making some great family memories in the process.
Chocolate Covered Peanut Butter Easter Eggs
Materials:
- Bag of melting chocolates (one bag in white, and one milk or dark chocolate)
- Optional: food coloring in a couple bright spring colors
- 1/2 cup peanut butter
- 1/4 cup honey
- Easter Egg chocolate mold (check your local craft store, or cake decorating supply store)
- Pastry bag
Directions:
1. Mix the peanut butter and honey together for the filling then set it aside.
2. If you want to add colors to your eggs, melt about 1/4 cup of the white chocolate melts and add a drop or two of your favorite spring food color. Add the melted chocolate to the pastry bag or a plastic bag with the corner cut out.
3. Pipe the melted chocolate into the mold where you’d like to add a splash of color. Repeat the process for any other colors you’d like to add.
4. Melt more white or milk chocolate and pour a little into the egg mold. Roll the chocolate around, or push it with a spoon until it covers the bottom and sides of the mold. Set the whole thing aside to dry. You can pop it in the freezer to chill if you need it to harden quickly.
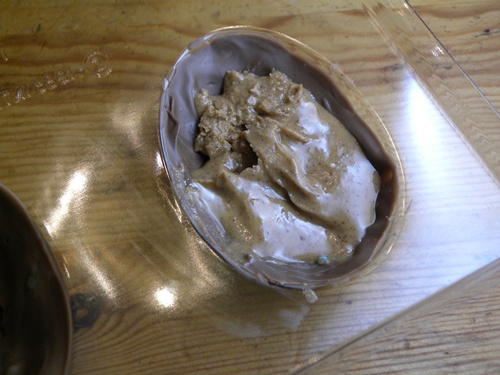
5. Fill the rest of the egg with the peanut butter mixture, leave enough room for a second layer of chocolate poured over the top.
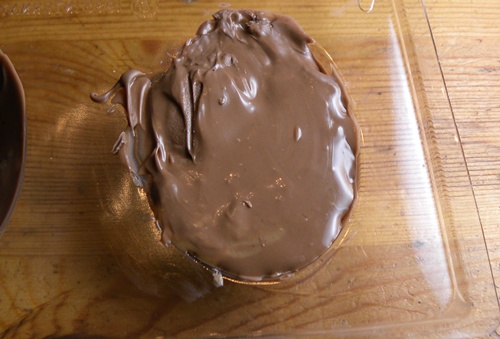
6. Pour chocolate over the top then set the egg aside to cool.
7. Once the egg has cooled you’re ready to pop it out of the mold.
You can add your eggs to an Easter basket, wrap them individually for gifts, or just eat them. However you use your eggs you’ll still have some fun Easter memories shared with family.


5 comments
You make that look soooo easy!
Yum!!!!! I am going to try this one out even though I don’t have kids- chocolate and peanut butter together is my favorite! Great tutorial–thank you 🙂
Hope you have a great Easter!!!!
That’s impressive. They came out so smooth and shiny – very cute. Thanks for sharing the Reese’s “secret” – peanut butter and honey. I didn’t know that.
Wow, you made that look so easy. I know a few adults who would love these as well!
Wow this looks awesome. This would make a perfect Easter gift or spend an afternoon with your sweetie making these yummy delights. Will definitely share this on my FB page.