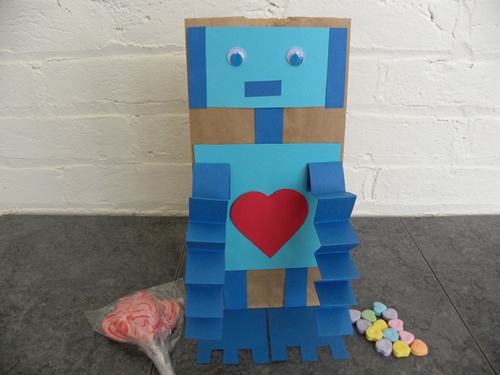
I made this little robot treat bag to go with the Robot Party Supplies I shared the other day. Then I got to thinking, it’s almost Valentine’s Day, and this little guy would look really cute to hold all those school Valentine’s.
This little robot was super simple to make, just a series of squares. Here are the instructions and the materials required to make him.
Robot Treat Bag
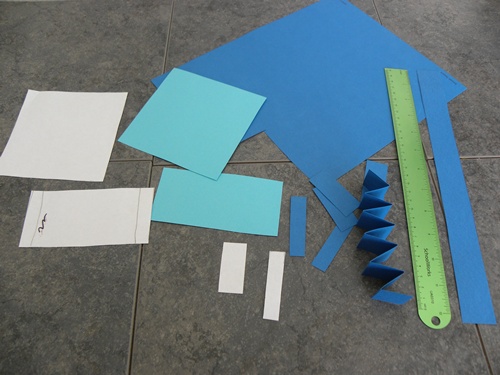
Materials:
Two sheets of card stock in contrasting colors (I used two shades of blue here)
2 wiggly eyes
brown paper lunch bag
scissors
double sided tape or glue
printable Robot Treat Bag Pattern (click for printable version)
Instructions:
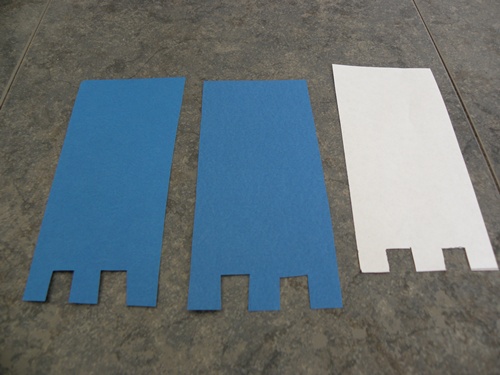
1. Print out the Robot Treat Bag pattern and cut out each of the pieces.
2. Lay each piece on the card stock and trace around it. If you need to cut out more than one, lay it on the card stock and trace it the number of times you need. Use the lighter color card stock for the head and body, darker for everything else.
3. To cut out the arms, place a ruler along the edge of the card stock and trace down the side, so the piece you will cut out is as wide as the ruler, and as long (see photo).
4. Once you’ve cut out the arms, fold them back and forth like an accordion.
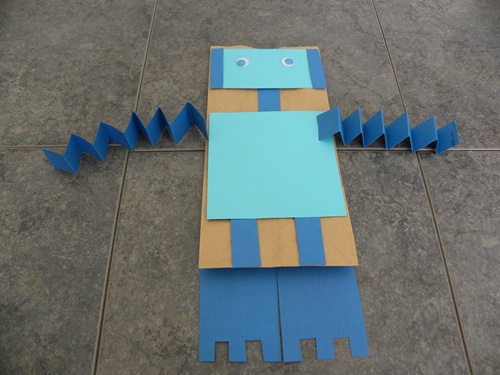
5. Lay out all the pieces on the bag so you know where you want to place them before you glue everything down. See the photo below for guidance. The only thing not there is the mouth, since I decided to add it later.
6. Use double sided tape or glue to fasten all the pieces to the bag. If you use glue lay the bag flat, and set it aside to dry.
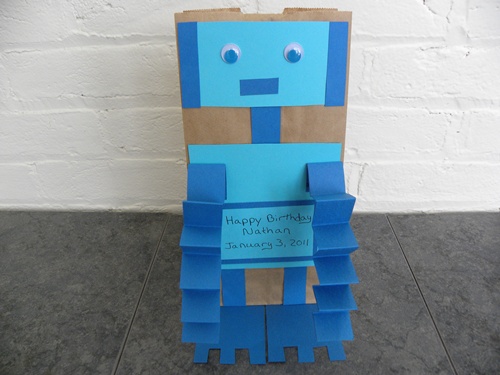
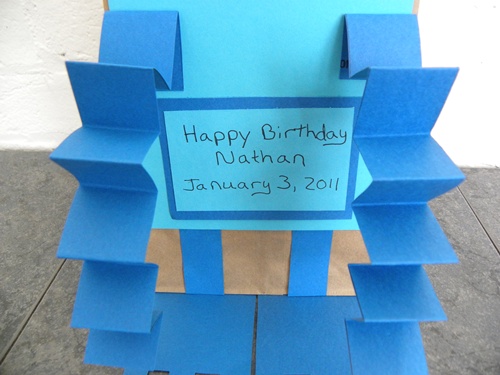
7. If you’re using the treat bag for a birthday party you can add the birthday boy or girls name and birthday information.
You can hand write the details, or print them and cut them to size. Here’s a closeup:
This little bag would also make a cute Valentine’s Day mailbox or “mailbag” for a boy. Just add a heart to his front, or glue the heart to the ends of his arms so he’s holding it.
If you’re making this for a girl, you could use shades of red and pink for Valentine’s Day.
If you decide to make this robot treat bag, please come back and share. I’d love to see how it turns out!



3 comments
That’s adorable, Linette. Thanks for the tutorial!
That is so cute and easy to customize. I might steal this idea for my sons to use for their Valentine’s Day parties at school. Thank you!
[…] Robot Treat Bag […]
Comments are closed.