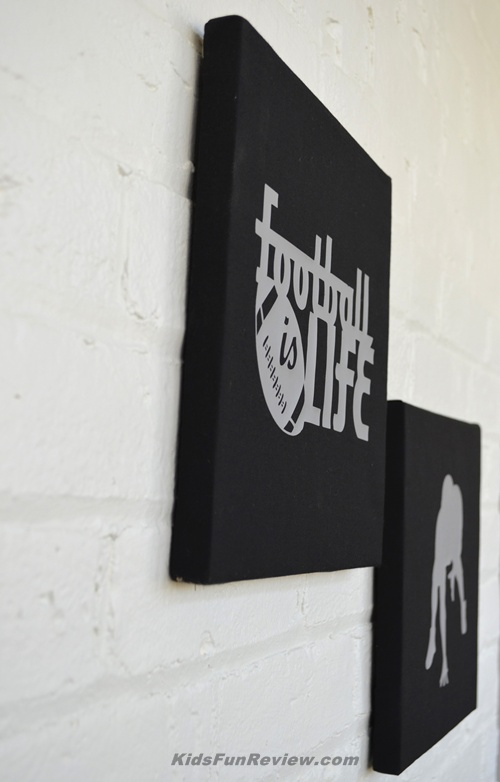
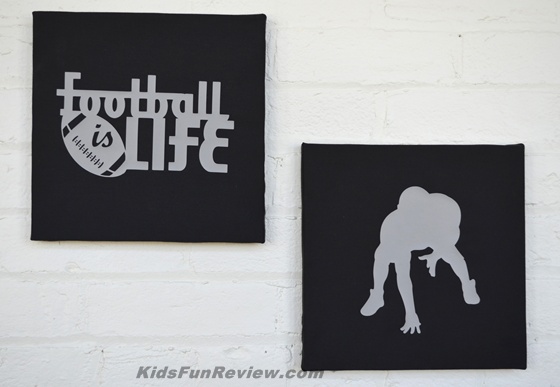
Cricut sent me some of their new iron on material to try out this last week. It’s pretty cool stuff! I decided to use a couple 10 inch stretched canvas frames to make some football wall art for my son’s room. He needs something more grown up than the posters adorning his walls now.
He’s a big football fan, so I used the Sports Mania Cricut Cartridge to create the wall art. I love this cartridge for working on his scrapbook pages. I never thought to use it to make wall art until now!
DIY Football Stretched Canvas Wall Art
What you’ll need:
- Cricut Iron-on Sample Pack!
- 10 inch stretched canvas frame
- about 1/2 yard of black cotton fabric
- Cricut Sports Mania cartridge
- Cricut machine
- heavy duty stapler
- iron
The Cricut iron on product is really easy to use! I was surprised how easy it was! I used my Cricut Expression Machine set with a blade depth of 2 with medium pressure and medium speed.
I selected the images I wanted to use in the Cricut Craft Room on my computer. I laid them out and resized both images to about 8 inches, and so the widest part was going horizontally on the iron on sheet side by side.
I had to reverse the images so they printed out as a mirror image of what I wanted the final product to be. When you iron the image onto the final product they will be reversed, so if you don’t do this step your image will be backward! This is not a big deal for some images, but if you have words in your image it could be a problem!
I loaded my mat with the iron on material on it into my Cricut Expression Machine. The shiny side should be down. Cutting the material on a setting of 2 left the blade only go through the first layer of the material, leaving the liner intact.
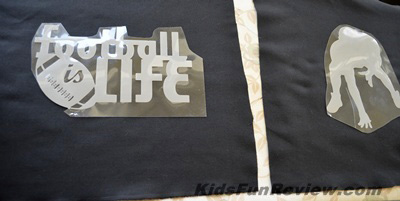
Then I used my handy dandy Cricut tool kit to remove the iron on film from around the image, leaving only the image on the liner.
Then I cut 2 pieces of black cotton fabric so they were an inch larger all the way around than my frames. Preheat the area you’re going to iron the image onto. I centered the images on the 2 pieces of fabric and ironed them on with my iron set to cotton/linen. Place a dish cloth or another soft cloth over the image before you iron to protect the liner from the direct heat of the iron. Apply medium pressure for about 25 to 30 seconds. Make sure you iron with the liner (shiny) side up, otherwise you’ll have an image stuck to the cloth, not to the fabric!
Let it cool and the liner should peel right off leaving the image on the fabric. It worked perfectly for me! If you have problems, put the towel back over the liner and press a little longer.
Cricut also has a new iron on glitter material! I’ll be creating with that next! It works the same way, you just need to set your Cricut blade depth to 3 since it’s just a little thicker. I didn’t try layering with my iron on material, but you can. You can’t unfortunately layer with the glitter material.
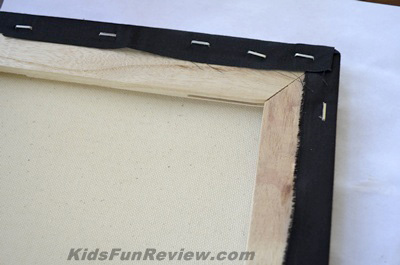
I cheated a little and bought a pre made stretched canvas frame from our local craft store, and wrapped my fabric around that. I used a heavy duty stapler, with my husband’s help to stretch and fasten the fabric to the frame.
It worked fabulously as you can see from the photos above. I’m really pleased with the results. Better yet my son really likes his new wall decor.
I’m super excited to create more with the Cricut iron on material! I see throw pillows, more wall hangings, and some clothing in my future! I’ll definitely be back to share more projects!
If you want to give it a try and make your own creations, right now you can Get $15 off your Cricut Iron-on Sample Pack!
I received some iron on material from Cricut to facilitate this project, but I’m a HUGE Cricut fan and I use their products even when they don’t send them to me, so all opinions are definitely my own!
Some of the links in this post may be affiliate links, meaning if you click on them I may make a commission if you make a purchase.


9 comments
I love it! I have some big Eagles fans in my home and they would love this.
Those are super cool! I want to make something out of my hubby’s old t-shirts.
For sure! I’m going to try to make a purse out of t-shirts, we’ll see how it goes! There are tons of super cute upcycled t’s on Pinterest:-)
this would be cool gift for a fan
very cool idea never thought of something like this might have to find some trains for my little boys for their wall
Wow this is a great idea for some Christmas presents for my sons. Do these in their favorite team colors.
This is Awesome and will make Great gifts. Thank you!
Awesome! I bet your son really loved the new grown-up look! These would make great Christmas gifts!
[…] Stretched Football Canvas via Kid’s Fun Review […]