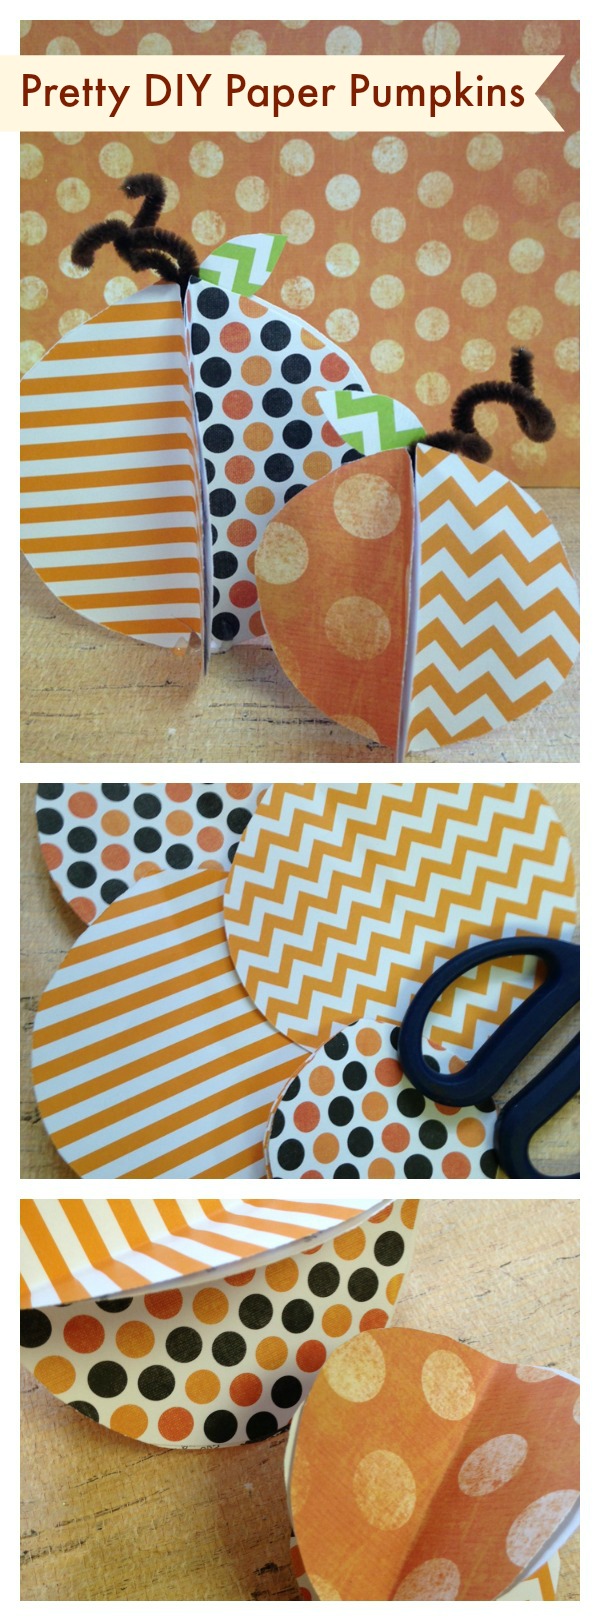
With just a few sheets of scrapbook paper, you can make your own pretty pumpkins perfect for dressing up your space. A great craft for both children and adults, these pretty paper pumpkins take just minutes to make and add a real pop of color. Take a look below at how you can get busy crafting your own. Fall will be here before you know it!
Here is what you will need:
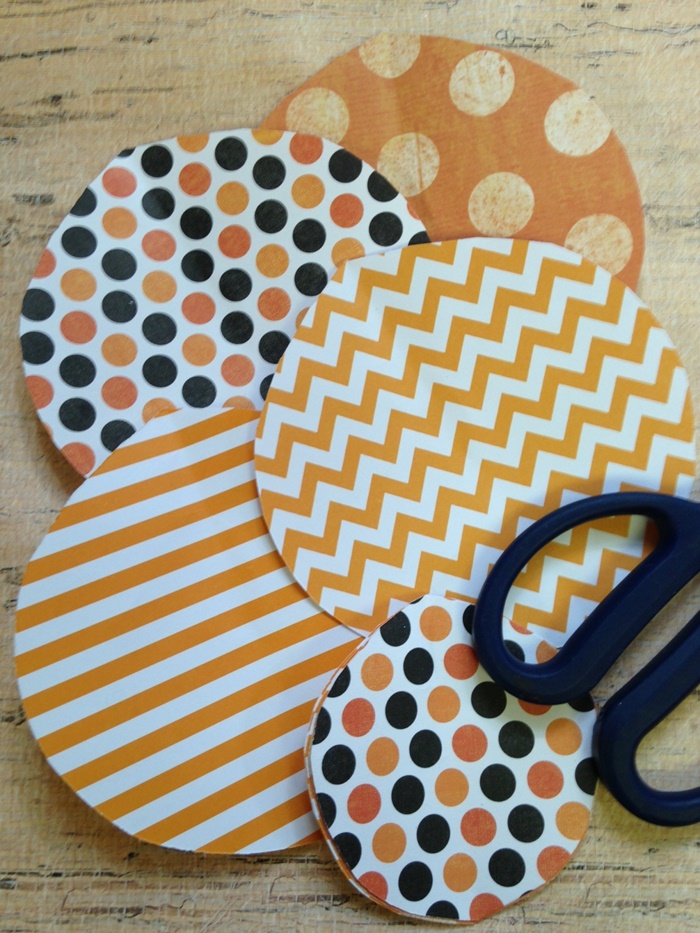
- 4-5 assorted pieces of scrapbook paper. We picked one color and picked up sheets in various patterns.
- Pipe cleaners (brown is perfect)
- Green scrapbook paper
- scissors
- glue
Directions:
1. Begin by cutting your scrapbook paper into circles. You want your circles to be even with each other, so use a stencil or pattern. Cut out 4-7 circles for each pumpkin.
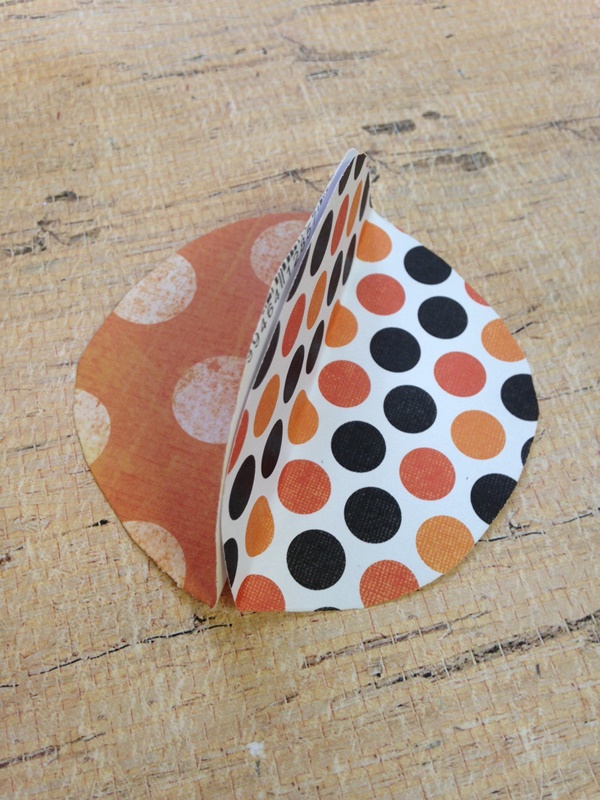
2. Bend each of the circles in half. You want the design on the paper to face inward when you bend.
3. You can now start to assemble your pumpkins. To do this, apply some glue to the back of the paper. Line up the half of the circle with another half from a matching circle.
4. Continue gluing the circles of paper together until a globe shaped is formed.
5. Cut a small length of pipe cleaner and twist it around your finger to make a vine. Add a dab of glue and press it into the top of the pumpkin.
6. Cut a few green leaves out of your green scrapbook paper. Attach them with glue to the stem/vine.
Your pretty paper pumpkins are now complete. Display them on a mantel, grouped in a bowl, or just lined up on a shelf. Try using a variety of fall colors and patterns, and really have fun with it.
Gather your supplies and give this frugal fall craft a try!


2 comments
Love this idea…so cute!
I think the DIY paper pumpkins is a great craft idea. I would love to make the paper pumpkins with my nephew next fall.